Tutorial
Start Jump Start UI
Next, start Jump Start UI Form Builder and select the desired UI flavor.
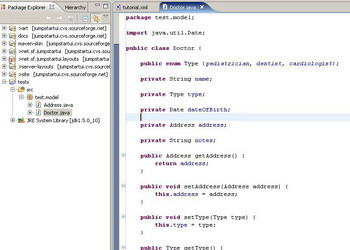
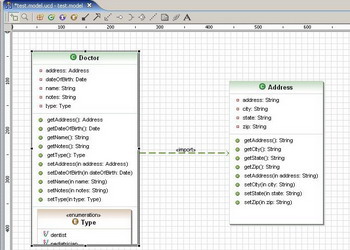
You can start Jump Start UI by right clicking on the created JavaBean and selecting Jump Start UI > Create Form. You will see the list of supported UI languages/libraries. Selected the language/library to initiate the corresponding wizard.
As an example, let's select the Eclipse Forms/JFace.

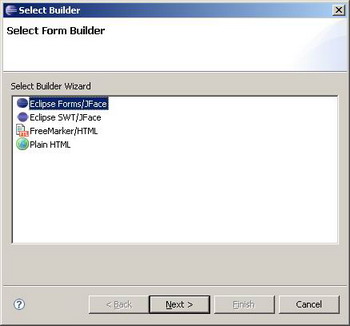
Notice that you can also start Jump Start UI via Eclipse's "New" wizard (File > New).
Specify the Resulting Class or Template
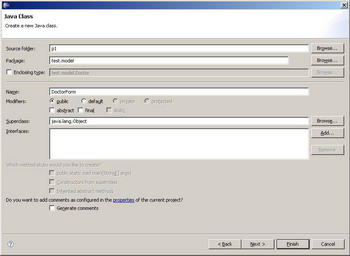
Depending on the selected format, you will need to specify the resulting class or template.
Since we selected Eclipse Forms on the previous step, the wizard will prompt us for the resulting class name and package.
Customize the Form
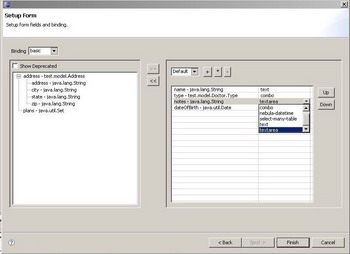
Next, the wizard brings up the form customization page.
There're two main things you can customize here: form fields and their UI controls and binding scheme.
Depending on the selected format you will see a number of UI controls you can choose from, such as text, combo, checkbox, etc. Jump Start UI also pre-selects UI control it considers will suite the best.
Additionally, you can add form groups. Groups arrange several fields together, in case of the Eclipse Forms it means that fields belonging to the same group will be placed on the same section.
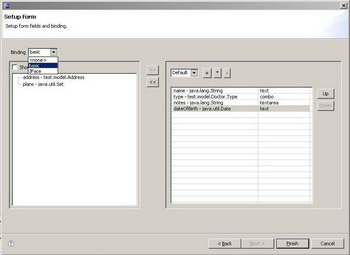
Finally, you can choose one of the available binding schemes. For Eclipse Forms you can choose from basic (manual) binding and JFace DataBinding (available in Eclipse 3.3).
Generate the Form
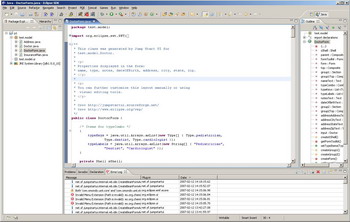
Once you done configuring the form, click Finish to generate the code. The resulting class or template will be automatically opened in the Eclipse.
In case of Eclipse Forms, the result is a plain Java class that constructs the UI widgets when requested. In other cases it could be an HTML page or a FTL template or something else. Notice that the resulting class doesn't contain dependencies on any 3d party libraries or components.
Additionally the resulting code may contain the binding code. It's usually contained within "setInput" and "finish" methods.
See the Result
Once code is generated, you can review it or run it.
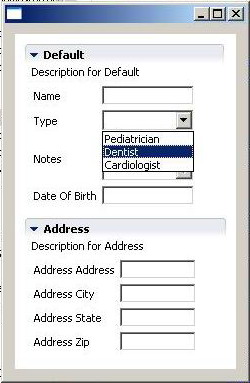
You don't need the Visual Editor to work with the result code, but if you do have it, you can run the UI bean. This feature allows you to quickly review what the resulting form will look like.

Customize the Result
Most probably, the generated form will not be your last step. You will likely want to customize it: realign the groups, change some fields' attributes, etc.
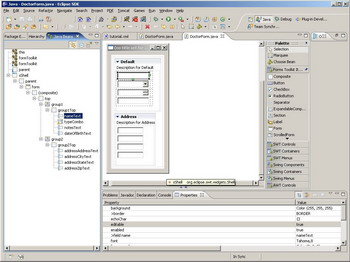
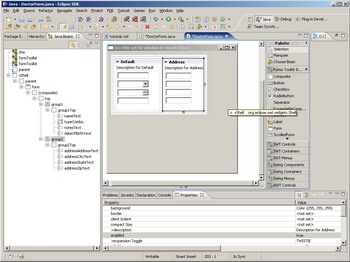
Again, you don't need the Visual Editor to edit with the generated code, but if you do have it, you can open the UI bean in the Visual Editor. Here, you can easily rearrange appearance of the form using drug-and-drop.
That's All!
And that's all there is to it.
Please see roadmap for the upcoming features, formats, UI elements, editors support, etc.
